
How to Insert Hearing Aids Correctly?
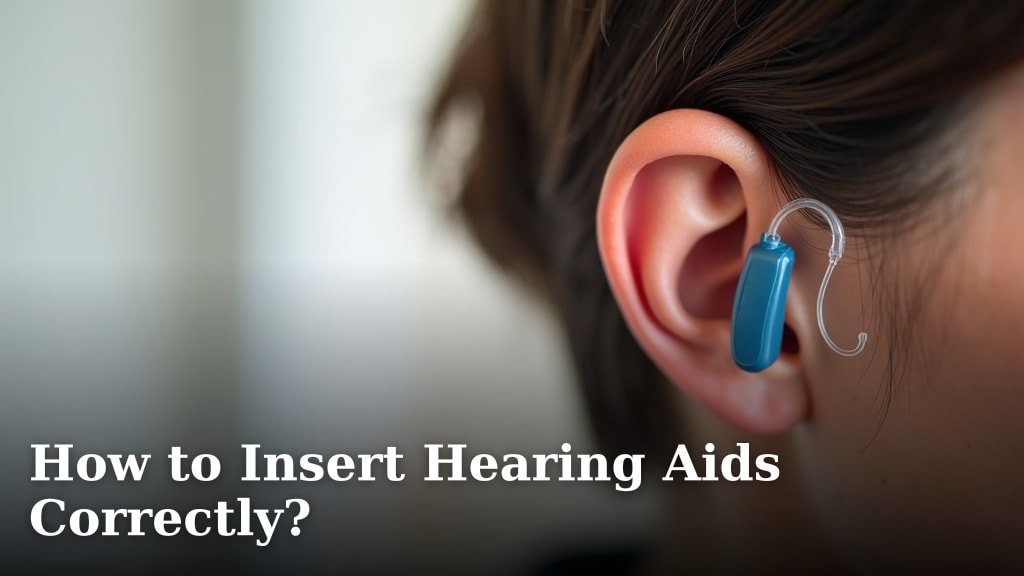
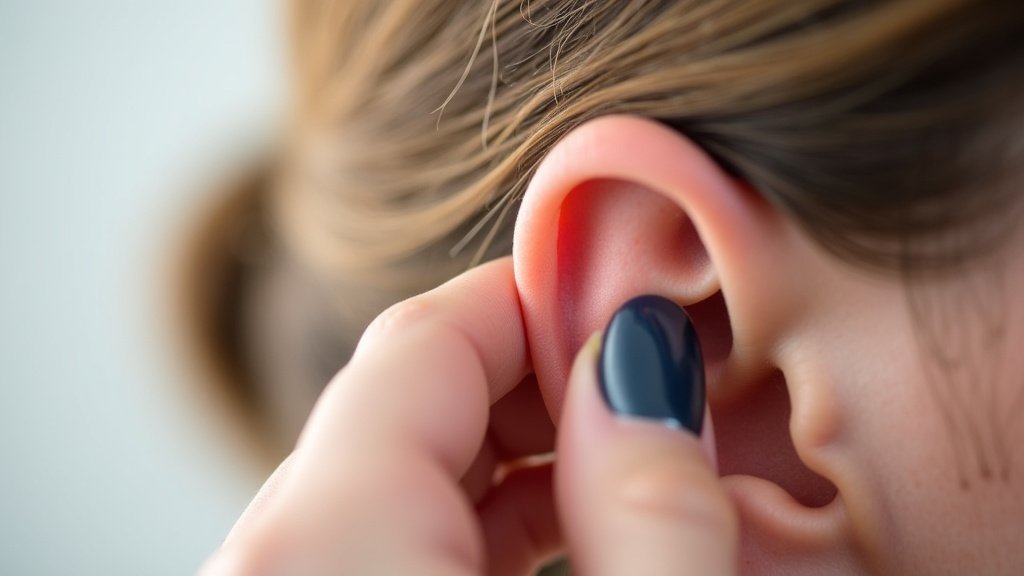
To insert most hearing aids correctly, tilt your head slightly to the side and gently pull your earlobe upward and back with your opposite hand. Then, guide the device straight into your ear canal until it sits comfortably.
We found that this simple technique prevents the most common problem: improper seating that causes feedback noise or discomfort. Getting the angle right on the first try is key to clear sound from your device.
- Wash your hands and dry them thoroughly before handling your aids.
- Orient the device correctly (left is usually blue, right is red).
- Insert at the correct angle, following the natural curve of your ear canal.
- Gently release your earlobe and check for a secure, comfortable fit.
Below, we break down the process for different styles of hearing aids, from in-the-ear to behind-the-ear models.
Different Hearing Aid Styles Require Unique Insertion Steps
Not all hearing aids fit the same way. The technique you use depends entirely on the style your audiologist recommended. Trying to insert a behind-the-ear (BTE) model using in-the-ear (ITE) steps will only cause frustration. We found that understanding your specific device is the first hurdle to overcome. Let’s break down the process for the most common types you’ll encounter.
Inserting an In-the-Ear (ITE) Hearing Aid
These small, custom-molded devices sit entirely inside your ear. The shell is made from a cast of your ear canal, so it should fit like a custom glove. The main challenge is getting the angle right without pushing it too deep.
The Step-by-Step Technique for ITE Aids
First, hold the aid between your thumb and forefinger with the faceplate (the side with the battery door) facing you. Tilt your head to the side you’re inserting. Use your opposite hand to gently pull your outer ear upward and back. This straightens your ear canal slightly. Guide the aid straight into the canal opening, using a gentle twisting motion if needed, as if you’re inserting an earplug. Release your ear and let it hold the aid in place. You should feel a comfortable, secure seal.
Putting On a Behind-the-Ear (BTE) Hearing Aid
BTE models are more common, with a piece that hooks over your ear. The tubing and earpiece (often a soft dome or custom mold) go into the ear canal. Many users say this style feels less intrusive once you get used to it.
Securing the Earpiece and Hook
Hold the aid with the tubing pointing downward. Tilt your head and gently pull your ear back. First, guide the soft earpiece into your canal. Once that feels secure, gently hook the main body of the aid over the top of your ear. The thin wire or tube should run straight down behind your ear. If it feels tight or loose, your audiologist can adjust the tubing length. A proper fit means it should be barely noticeable after a few minutes (National Institute on Deafness and Other Communication Disorders).
Handling Receiver-in-Canal (RIC) and Receiver-in-the-Ear (RITE) Models
These are very similar to BTEs, but the speaker (receiver) is at the end of a thin wire inside the earpiece, not in the main body. This makes them smaller and often more discreet. The insertion process is almost identical to a standard BTE.
The Key Difference: The Thin Wire
Pay close attention to the tiny wire. When inserting, you’ll follow the same steps: tilt, pull back, insert the earpiece first. Then, place the main body over your ear. The main caution is not to twist or kink this delicate wire. Let it follow the natural curve behind your ear. If the earpiece doesn’t sit right, you might have the wrong size dome. A good rule is to check that the wire isn’t stretched taut or hanging too loose.
Steps for Completely-in-Canal (CIC) Hearing Aids
The smallest custom aids, CIC devices are hidden deep inside the ear canal. They are a marvel of miniaturization, but they require a steady hand and good mirror skills.
Using a Removal Tool for Insertion
Most CIC aids come with a tiny removal string or a small plastic insertion tool. Holding this tool, tilt your head, and use your free hand to pull the ear back. Carefully guide the aid into the canal until the faceplate is flush with the ear opening. The removal string should dangle just outside the ear. Never try to push it further with a fingertip, as you might damage internal components or harm your ear canal.
Troubleshooting Common Fit Problems
Even with the right steps, you might hit a snag. The most frequent complaint is feedback—that awful whistling sound. Nearly 30% of new users experience this initially, usually due to a poor seal (Journal of the American Academy of Audiology). Don’t get discouraged. These issues are almost always fixable.
Why Do I Hear Feedback Whistling?
Feedback happens when amplified sound leaks out of the ear and is re-picked up by the microphone, creating a loop. This almost always means the aid isn’t seated properly. For ITE aids, it might be slightly rotated. For BTEs, the dome or mold might be the wrong size, or the tubing could be cracked. Check the fit first before changing the volume.
What If the Hearing Aid Feels Uncomfortable or Sore?
A new aid should feel snug but not painful. If it hurts, something is wrong. You may be pushing it too far, or the dome size might be too large. Try reinserting it with less pressure. Persistent pain, redness, or swelling means you should remove it and call your audiologist. Never try to modify the aid yourself to make it fit. It’s also wise to start with shorter wearing periods, like 1-2 hours, to give your ear time to adapt (Mayo Clinic).
Sound Seems Dull or Occluded
“Occlusion” is that plugged-up feeling where your own voice sounds hollow or booming, like you’re talking in a bucket. It’s common with new aids. Your brain needs time to adapt to processing sounds differently. Most experts suggest giving your brain at least a few weeks to adjust. If it doesn’t improve, the venting in the earpiece may need adjustment.
Step-by-Step Summary by Hearing Aid Style
To make it simple, here is a quick-reference comparison. Use this table to focus on the steps that matter for your specific device.
| Hearing Aid Style | Key Insertion Action | Common Mistake to Avoid |
|---|---|---|
| In-the-Ear (ITE) | Tilt, pull ear back, insert with gentle twist. | Pushing too far; ignoring the natural canal curve. |
| Behind-the-Ear (BTE) | Insert earpiece first, then hook body over ear. | Hooking the body before the earpiece is secure. |
| Receiver-in-Canal (RIC) | Similar to BTE; mind the thin wire. | Kinking or twisting the delicate wire. |
| Completely-in-Canal (CIC) | Use insertion tool to guide deeply. | Using a finger to push it deeper; ignoring the removal string. |
Daily Tips for Easier and Safer Handling
A little daily habit goes a long way toward protecting your investment and your hearing health. Make these practices part of your routine from day one.
Always insert your aids in a safe, well-lit area. Sit at a table with a towel or soft cloth laid out. This prevents drops and makes it easy to find small parts. If you drop an aid, find it before stepping on it. Never insert or remove aids while walking.
Clean them every night. Use a dry, lint-free cloth to wipe off earwax and moisture. For BTEs, use a small wire brush to clear wax from the microphone ports. Keeping them clean prevents many sound quality issues and extends their life. Most audiologists recommend a weekly deeper cleaning.
Open the battery door at night. This preserves battery life and allows any moisture inside to evaporate. It’s a simple step that can prevent internal corrosion.
Use a dehumidifier or drying kit. Moisture is the number one enemy of hearing aids. Even humidity can damage the electronics. A overnight drying kit is a worthwhile investment for most users, especially if you live in a humid climate.
Your Quick-Fit Checklist
Keep this simple checklist handy as you learn. Run through these points if you’re ever unsure.
- Hands are clean and completely dry.
- Head tilted, ear gently pulled back.
- Aid oriented correctly (left vs. right).
- Earpiece or mold inserted following the canal’s natural path.
- Aid body secured (if BTE style).
- Firm seal confirmed, no feedback whistling.
Conclusion
You’ve learned the essential steps to insert your hearing aids with confidence. From tilting your head and pulling your ear back to matching the technique to your specific style—whether ITE, BTE, RIC, or CIC—this guide covers it all. We emphasized avoiding feedback, managing discomfort, and following daily care habits for a reliable fit. Practice these moves in a safe, well-lit spot until they feel second nature. Your best next step? Schedule a quick check-in with your audiologist to confirm your fit and get any personalized tweaks for clearer sound.
Frequently Asked Questions
How do I know if my hearing aid is inserted correctly?
You should feel a comfortable, secure seal without pain or pressure. If you hear whistling feedback, it’s likely not seated right. Reinsert it gently until the sound is clear and stable.
What should I do if my hearing aid keeps falling out?
First, ensure you’re using the correct dome or mold size. If it still slips, cleaning earwax might help, but consult your audiologist for a fit adjustment. A proper fit should hold the aid firmly in place.
Can I insert my hearing aids while lying down?
It’s better to insert them while sitting upright with good lighting. Lying down can make it harder to see and guide the device accurately. Always use a stable surface to prevent drops or damage.
How often should I replace the domes or molds on my BTE hearing aids?
Most audiologists suggest replacing domes every 3 to 6 months, or if they look worn or dirty. Molds may last longer, but check with your professional for a tailored schedule. Fresh domes ensure a snug fit and better sound.
Is it normal to hear background noise after inserting my hearing aids?
Yes, it can be normal as your brain adapts to new sounds. If the noise is too loud or doesn’t improve, your aids might need tuning. Contact your audiologist to adjust settings for clearer audio.
