Can You Fix a Hearing Aid at Home?
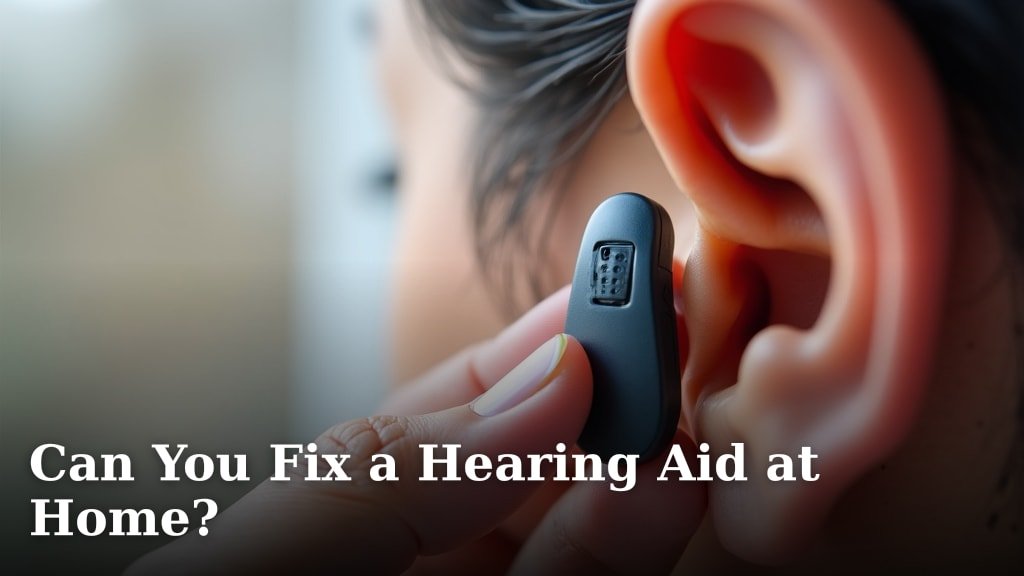
No, you generally cannot fix a hearing aid at home for major issues. While you can handle some minor troubleshooting, most hearing aid repairs require specialized tools and expertise from a qualified audiologist or technician. Trying to fix it yourself could cause more damage.
You might be able to handle simple tasks like changing batteries or cleaning earwax. But anything more complex, like a broken wire or a faulty speaker, usually needs professional attention. It’s often safer and more cost-effective to get help.
- You can do basic maintenance.
- Major repairs need a professional.
- Don’t try to force repairs yourself.
- Always check your warranty first.
Let’s walk through what you can do at home and when it’s definitely time to call the pros.
Is Fixing Your Hearing Aid at Home Possible?
For most major problems, no, fixing your hearing aid yourself isn’t possible. You can handle basic care and troubleshooting. But anything more serious needs a professional. Think of it like a car. You can check the oil, but you wouldn’t rebuild the engine in your driveway, right? Hearing aids are delicate, tiny computers. They need expert hands for real repairs.
We found that many people try quick fixes at home only to make things worse. This can even void your warranty. It’s always best to know your limits and call your audiologist when in doubt.
What You CAN Do: Basic Home Maintenance and Troubleshooting
You’d be surprised how often a seemingly big problem is actually something small you can fix. Many common issues stem from simple maintenance needs. These are things you should do regularly anyway to keep your device working its best.
Good home care can prevent many problems. It also helps your hearing aids last longer. Let’s look at some things you can definitely handle yourself.
Checking the Battery
This is often the first thing to check when your hearing aid stops working. It seems obvious, but it’s easily overlooked. Is the battery dead? Is it inserted correctly? Sometimes, a battery might look fine but just be low on power.
- Replace the battery: Keep fresh batteries on hand. Make sure you use the right size for your specific hearing aid.
- Check battery contacts: Sometimes, the metal contacts inside the battery compartment can get dirty or corroded. Gently wipe them with a dry cotton swab.
- Rechargeable batteries: If you have rechargeable aids, make sure they are fully charged. Is the charger working? Is the connection solid?
Cleaning Earwax and Debris
Earwax is the hearing aid’s biggest enemy! It can block sound, cause whistling, or make your device stop working. Regular cleaning is a must. You can do this at home with the tools your audiologist provided. Our guide on how to remove earwax from a hearing aid provides detailed steps and tips for effective cleaning.
- Use a wax pick or brush: Gently clear any wax from the sound port (where the sound comes out) and the microphone.
- Wipe down the device: Use a soft, dry cloth to clean the outside of your hearing aid. Avoid water or cleaning solutions unless specifically approved.
- Change wax guards: Many hearing aids have small wax guards that need to be changed regularly. Your audiologist will show you how to do this. This is a very common fix for “no sound” issues.
Checking for Moisture Damage
Moisture, like sweat or humidity, can harm your hearing aid’s electronics. If your device sounds muffled or stops working after exposure to moisture, you might be able to dry it out. Learn how to clear moisture from hearing aid microphones to prevent damage and restore sound clarity.
- Use a drying kit: Many hearing aid users have a special drying kit or dehumidifier. Place your hearing aids in this kit overnight.
- Avoid rice: While a common household trick for electronics, rice can leave starchy dust in your hearing aid. It’s not recommended by manufacturers (Cleveland Clinic).
Troubleshooting Tubing and Domes
If you have a Behind-the-Ear (BTE) hearing aid, the tubing and dome are critical. They can get blocked, crimped, or worn out.
- Check the tubing: Is it bent, cracked, or hardened? Hardened tubing can be replaced at home if you have spare parts. Your audiologist can show you how.
- Clean or replace the dome/earmold: The dome (the soft tip that sits in your ear) can get clogged with wax or become worn. Clean it or replace it if needed.
When It’s Time to Call the Professional: What You CANNOT Fix
There are many situations where a DIY fix is simply not possible or even dangerous for your device. These are the times when you absolutely need to reach out to your audiologist or a qualified technician. Trying to fix these issues yourself can lead to more costly repairs or even needing a brand new hearing aid.
Remember, these devices are designed with precision. They have tiny wires, complex circuits, and sensitive microphones and receivers. Special tools and knowledge are required for internal repairs.
Internal Component Failure
If your hearing aid isn’t working after you’ve checked the battery, cleaned it, and ensured there’s no visible blockage, it might be an internal issue. This means a part inside the device has failed.
- No sound at all: If there’s no sound even with a fresh battery and clean device, a receiver or amplifier might be broken.
- Intermittent sound: Sound that cuts in and out suggests a loose connection or a failing component.
- Distorted sound: If sounds are fuzzy, static-filled, or unclear, this points to internal damage or a failing microphone.
These issues often require soldering or replacement of tiny parts. You can’t do that at home.
Physical Damage
Accidents happen! If your hearing aid has been dropped, stepped on, or exposed to significant impact, it likely has physical damage that requires professional repair.
- Cracked casing: If the plastic casing is broken, moisture and debris can get inside, causing further damage.
- Broken switches or buttons: If volume controls or program buttons don’t work, they need to be replaced.
- Damaged battery door: A broken battery door can prevent the hearing aid from turning on or staying on.
Feedback or Whistling Not Resolved by Cleaning
Some feedback (whistling) is normal, especially when inserting the aid. But if you have constant feedback that isn’t solved by cleaning, repositioning, or replacing the dome, it could be a deeper issue.
- Microphone issues: Sometimes, the microphone itself can cause persistent feedback.
- Internal acoustic leak: There might be a leak in the sound path that only an expert can identify and seal.
- Earmold fit: A poor fit in your ear can cause feedback. Your audiologist can adjust or remake the earmold.
Comparing Home Fixes vs. Professional Repair
It helps to know what issues fall into which category. Here’s a quick guide to help you decide.
| Issue Type | Can You Fix at Home? | When to See a Pro |
|---|---|---|
| Dead/Low Battery | Yes, replace battery | If new battery doesn’t work |
| No Sound (due to wax) | Yes, clean wax guard/sound port | If cleaning doesn’t restore sound |
| Whistling/Feedback | Yes, reseat device, check dome | If persistent after reseating/cleaning |
| Muffled Sound (moisture) | Yes, use drying kit | If still muffled after drying |
| Cracked Casing | No | Immediately for repair |
| Intermittent/No Sound (internal) | No | As soon as possible |
| Broken Buttons/Switches | No | For component replacement |
| Water Damage (submerged) | No (use drying kit, then pro) | Always after significant water exposure |
Your “When in Doubt” Checklist
Before you get frustrated or try something risky, use this quick checklist. It helps you figure out if you should grab a cleaning tool or pick up the phone.
- Have I changed the battery or fully charged it?
- Is the hearing aid completely clean of earwax and debris?
- Is the tubing (if applicable) clear, not crimped, and firmly attached?
- Is the dome or earmold properly seated in my ear and free of blockages?
- Have I tried using my drying kit if I suspect moisture?
- Does the problem persist after trying all these simple steps?
If you answered “yes” to the last question, it’s a clear sign you need professional help. Don’t delay, as addressing issues early can sometimes prevent them from getting worse or more expensive to fix.
Conclusion
While fixing major hearing aid issues at home isn’t realistic, you now know there’s plenty you can do yourself! Simple maintenance like changing batteries, cleaning wax, and using a drying kit can solve many common problems. These routine tasks help keep your devices working well and can prevent bigger issues down the road.
However, for internal malfunctions, physical damage, or persistent issues, it’s always best to call your audiologist or a qualified technician. They have the specialized tools and expertise needed. Don’t risk further damage or voiding your warranty. Reach out to your hearing care professional when you’re in doubt.
Frequently Asked Questions
How often should I clean my hearing aids at home?
You should clean your hearing aids daily. A quick wipe-down and checking for earwax build-up in the sound port or microphone areas takes only a minute. This routine care significantly extends their lifespan and maintains optimal performance.
Can I use rubbing alcohol to clean my hearing aids?
No, you should avoid using rubbing alcohol or any liquid cleaning solutions unless specifically recommended by your audiologist or the manufacturer. These can damage the delicate electronic components inside your hearing aid. Stick to the dry cleaning tools provided with your device.
What if my hearing aid gets wet?
If your hearing aid gets wet, immediately turn it off and open the battery door (or place rechargeable aids in their charger). Use a specialized hearing aid drying kit or dehumidifier overnight. Do not use a hairdryer or place it in rice, as these methods can cause more harm than good.
Will trying to fix my hearing aid myself void the warranty?
Yes, attempting repairs beyond basic maintenance can absolutely void your hearing aid’s warranty. Manufacturers design these warranties to cover defects, not damage from user attempts at repair. Always check your warranty terms before trying any DIY fixes.
How much does it typically cost for a professional hearing aid repair?
The cost of professional repair varies widely depending on the type of damage, the hearing aid model, and whether it’s still under warranty. Minor repairs might be inexpensive, while major internal component replacements can be more significant. Your audiologist can give you an estimate after diagnosing the problem.