How to Remove Earwax from a Wax Guard?
On this page (8 sections)
The easiest way to remove earwax from a wax guard is by gently wiping it with a soft, damp cloth. You can also use a dry cotton swab to pick up any loose debris. It’s important to be very gentle to avoid damaging the hearing aid. Always refer to your hearing aid’s manual for specific cleaning instructions.
Keeping your hearing aid’s wax guard clean is key to maintaining good sound quality. A dirty guard can muffle sounds, making your hearing aid less effective. Regular cleaning prevents buildup and ensures your device works its best. Many users find a quick wipe-down each day is all that’s needed to keep them clear and functional.
- Gently wipe the wax guard with a damp cloth.
- Use a dry cotton swab for loose debris.
- Consult your hearing aid manual for specifics.
- Regular cleaning ensures optimal sound quality.
Below, we’ll walk you through the simple steps to clean your hearing aid’s wax guard and keep your device performing perfectly.
Keeping Your Hearing Aid Wax Guards Clean
A clean wax guard is essential for your hearing aid’s performance. It allows sound to travel clearly. Think of it like a tiny, important filter. When it gets clogged, your hearing aid might sound muffled. You could miss important conversations or sounds. Regular cleaning is your best defense against this. We’ll show you how to do it right.
Why Wax Guards Matter for Your Hearing Aids
Your hearing aids are sophisticated devices. They are designed to help you hear better. A key component is the wax guard, also called a sound outlet or dome protector. This tiny part sits at the opening of your hearing aid. Its main job is to prevent earwax, moisture, and debris from entering the delicate electronics.
Earwax is a natural part of our bodies. It has protective functions. But when it comes into contact with your hearing aid, it can cause problems. It can harden and block the sound path. This is where regular cleaning becomes so important. Your hearing aid’s manual is always the best resource for specific instructions. This is where regular cleaning becomes so important. Learn how to remove earwax from a hearing aid.
The Role of the Wax Guard
Imagine your hearing aid working hard to capture sounds. It sends those sounds to you. The wax guard is the last line of defense before the sound reaches your ear. If this guard is blocked by wax, the sound can’t get through properly. It’s like trying to talk through a dirty window. You can still hear a little, but it’s not clear at all.
Many hearing aid users don’t realize how quickly wax can build up. It depends on individual ear canal conditions. Some people produce more wax than others. Even a small amount can impact sound quality. Research shows that even minor obstruction can lead to a noticeable reduction in loudness and clarity (National Institute on Aging).
Consequences of a Clogged Wax Guard
What happens if you ignore a dirty wax guard? Several issues can arise. First and foremost is reduced sound quality. You might experience a muffled or distorted sound. This can be frustrating, especially during important conversations.
Another problem is that a completely blocked guard can cause your hearing aid to stop working altogether. This can be alarming. It might lead you to believe the device is broken. Often, it’s just a simple case of a clogged wax guard. Replacing or cleaning it can restore full function.
Finally, prolonged blockage can potentially damage the hearing aid’s internal components. Moisture trapped by wax can cause corrosion. This is why prompt cleaning is not just about sound quality; it’s also about protecting your investment.
Simple Steps for Cleaning Your Wax Guard
Cleaning your wax guard doesn’t have to be complicated. You can usually do it yourself at home with a few basic tools. The key is to be gentle. These devices are small and contain sensitive parts.
Gathering Your Cleaning Supplies
Before you start, make sure you have the right items on hand. You don’t need much. Most hearing aid users have these things already in their homes. You’ll want:
- A soft, lint-free cloth (like a microfiber cloth).
- A dry cotton swab.
- Your hearing aid’s cleaning tool (often provided by the manufacturer).
- Access to your hearing aid’s user manual.
Having everything ready makes the cleaning process smooth and efficient. It prevents you from stopping mid-task to find something.
Step-by-Step Cleaning Guide
Let’s walk through the process. It’s usually quite straightforward. Always refer to your specific hearing aid’s manual for precise instructions, as models can vary slightly.
Step 1: Gently Wipe the Surface
Begin by taking your soft, lint-free cloth. Dampen it very slightly with clean water. You don’t want it to be wet, just barely moist. Gently wipe the exterior of the wax guard. This will remove any surface dust or loose debris. Be careful not to press too hard. We want to clean, not damage.
Step 2: Use a Cotton Swab for Details
For any buildup that’s a bit more stubborn, or if you see tiny particles, a dry cotton swab can be very useful. You can gently dab or roll the swab over the wax guard. This can pick up small bits of wax or ear debris. Again, gentleness is key. Avoid pushing the swab into the sound outlet.
Step 3: Utilizing Your Hearing Aid Cleaning Tool
Many hearing aids come with a small, specialized cleaning tool. This tool usually has a small brush on one end and a loop or pick on the other. Use the brush end to gently sweep away any remaining loose particles from the wax guard. If there’s a pick or loop, you might be able to use it to carefully dislodge a larger piece of wax. Always follow the manufacturer’s instructions for using their specific tool. They are designed for your device.
Step 4: Check for Remaining Debris
After your initial cleaning, take a moment to look closely at the wax guard. Use good lighting. You want to ensure no small bits are left behind. If you see anything, repeat the gentle wiping or dabbing with the cotton swab.
When to Replace Your Wax Guard
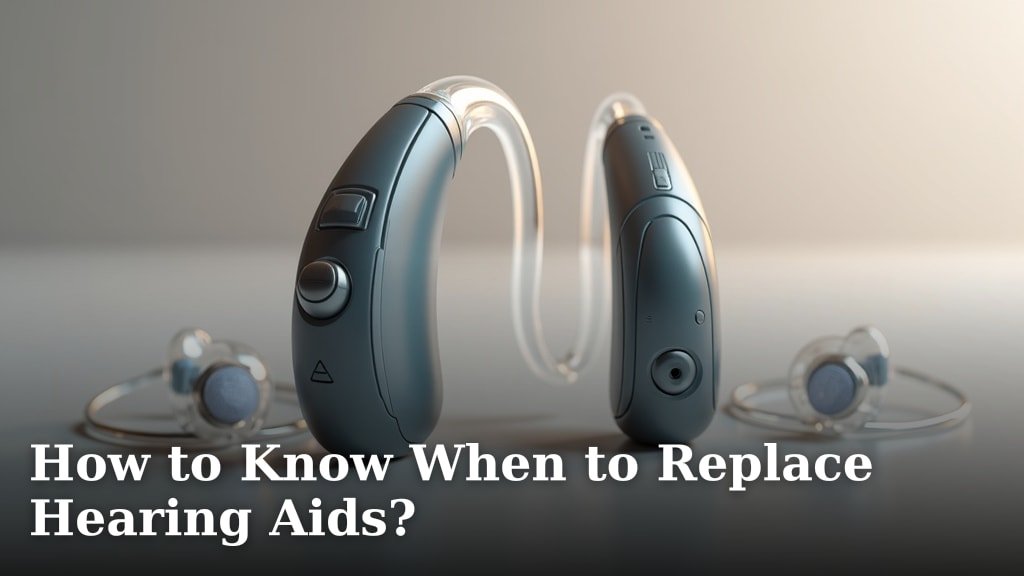
Sometimes, cleaning isn’t enough. Wax guards are designed to be replaceable. They are essentially sacrificial parts. They protect your hearing aid from significant damage. When should you consider replacing yours? When should you consider replacing yours? Our guide explains how to replace a hearing aid wax guard.
If you notice persistent muffling even after cleaning, it’s a good sign. If the guard looks visibly damaged, cracked, or discolored, it needs replacing. Also, many hearing aid manufacturers recommend replacing wax guards at regular intervals, perhaps every few weeks or months. Your manual will provide guidance on this. Think of it like changing the filter in your air conditioner – it’s routine maintenance.
The Replacement Process (General)
Replacing a wax guard is usually a simple swap. Your hearing aid kit likely contains replacement guards. They often come attached to a small plastic tool. One end of the tool removes the old guard, and the other attaches the new one. Carefully follow the instructions that come with your replacement guards. Make sure the new guard is securely in place before using your hearing aid again.
Preventing Excessive Earwax Buildup
While cleaning is important, preventing excessive buildup can make your life easier. While we can’t control how much earwax our bodies produce, we can take some steps.
Understanding Earwax Production
Earwax is a natural secretion. It helps lubricate and protect the ear canal. It also traps dust and debris. The ear canal is generally self-cleaning. Small amounts of wax migrate outward on their own. However, some individuals produce more wax than average. Others may have narrower ear canals, which can lead to buildup.
Tips for Managing Earwax
You can’t eliminate earwax, nor would you want to. But you can manage it. Here are some tips:
- Avoid inserting objects into your ear canal. This includes cotton swabs. Pushing objects into the ear can compact wax deeper inside. It can also damage the ear canal or eardrum. This is a widely recommended practice by health professionals (Centers for Disease Control and Prevention).
- Stay hydrated. While not directly proven to reduce earwax production, general hydration is good for overall health.
- Consult your audiologist. If you frequently experience wax buildup or discomfort, talk to your audiologist. They can assess your ears and recommend appropriate strategies. They might suggest specific ear drops or professional cleaning methods.
When to Seek Professional Help
Most routine wax guard cleaning can be done at home. However, there are times when you should not attempt to clean it yourself. If you experience severe pain, discharge, or sudden hearing loss, contact a medical professional or your audiologist immediately. These could be signs of a more serious issue than just a clogged wax guard.
Also, if you’ve tried cleaning and replacing the wax guard, but your hearing aid still sounds muffled or isn’t working correctly, it’s time to seek expert advice. There could be an issue with the hearing aid itself. Your audiologist is equipped to diagnose and resolve these problems. They have specialized tools and knowledge.
Your Hearing Aid Cleaning Checklist
Here’s a quick checklist to help you maintain your hearing aid’s wax guard:
- Check your wax guards daily for any visible buildup.
- Gently wipe guards with a slightly damp, soft cloth as needed.
- Use a dry cotton swab for stubborn bits.
- Consult your hearing aid manual for specific cleaning tool use.
- Replace wax guards according to your audiologist’s or manual’s recommendation.
- If issues persist, contact your audiologist.
By following these simple steps, you can ensure your hearing aids continue to deliver clear, crisp sound. It’s a small effort that makes a big difference in your hearing journey.
Conclusion
You’ve learned how important clean wax guards are for your hearing aids. Keeping them clear ensures you hear every important sound. Gentle cleaning with a damp cloth or cotton swab is usually all it takes. Remember to always check your hearing aid manual for exact instructions. If you notice persistent issues, don’t hesitate to reach out to your audiologist. Taking these simple steps protects your hearing aid and keeps your world sounding clear.
Frequently Asked Questions
How often should I clean my hearing aid wax guards?
It’s a good practice to check your wax guards daily for any buildup. You may only need to clean them a few times a week. If you notice any muffling or reduced sound, it’s time for a gentle wipe-down.
Can I use ear drops to clean the wax guard?
You should never use ear drops directly on the wax guard or hearing aid. Ear drops are for cleaning your ear canal. Using them on your device can cause damage. Always refer to your hearing aid’s manual for approved cleaning methods.
What if I can’t remove a stubborn piece of earwax?
If a piece of earwax is stuck and won’t come off with gentle cleaning, do not force it. This could damage the wax guard or hearing aid. It’s best to use your hearing aid’s cleaning tool as directed or consult your audiologist for assistance.
Are all wax guards the same size and type?
No, wax guards can vary slightly between hearing aid brands and models. It’s important to use the correct replacement guards for your specific device. Your hearing aid manual or audiologist can confirm which type you need.
Is it okay to use rubbing alcohol to clean the wax guard?
It’s generally not recommended to use rubbing alcohol on hearing aid wax guards unless your manual specifically states it’s safe. Alcohol can sometimes damage the delicate materials. Stick to a slightly damp cloth or dry cotton swab for cleaning.