How to Clean a Hearing Amplifier?
On this page (8 sections)
- Keeping Your Hearing Amplifier in Top Shape
- Daily Cleaning: The Quick Fixes
- Weekly Cleaning: A Deeper Dive
- Specific Cleaning Needs by Amplifier Type
- What NOT to Do When Cleaning
- Essential Cleaning Supplies Checklist
- Storing Your Hearing Amplifier Properly When you’re not wearing your hearing amplifier, store it safely. A protective case is ideal. This shields it from dust, moisture, and accidental damage. Many hearing aids come with their own cases. If yours didn’t, consider purchasing one. Keep it in a cool, dry place. Avoid bathrooms or kitchens where humidity is high. Proper storage is part of its overall care. Conclusion
- Frequently Asked Questions
The easiest way to clean your hearing amplifier is with a soft, dry brush for everyday dust and a damp cloth for tougher grime. It’s important to keep your hearing aid clean to ensure it works its best and to prevent ear infections. Regular cleaning also helps you hear clearly, which is the whole point!
Many people wonder about the best way to maintain their hearing aids. Keeping your amplifier free of earwax and debris is key to its long-term performance. We found that a simple, consistent cleaning routine can make a big difference. Think of it like caring for any other important electronic device you rely on daily.
- Brush away dust and debris.
- Wipe with a slightly damp cloth.
- Never use harsh chemicals.
- Keep all parts dry.
Let’s walk through exactly how to keep your hearing amplifier in tip-top shape, step by step.
Keeping Your Hearing Amplifier in Top Shape
Your hearing amplifier is a small but mighty device. Keeping it clean helps it work its best for you. Think of it like maintaining your car so it runs smoothly. Regular cleaning prevents earwax buildup. It also stops dirt and debris from interfering with sound. This guide will show you how to clean it safely and effectively.
Daily Cleaning: The Quick Fixes
Most of your cleaning will happen daily. This prevents minor issues from becoming big ones. You don’t need a lot of fancy tools for this. Just a few simple items will do the trick. This helps you hear clearly every single day.
Brushing Away Daily Dust
Every day, your amplifier encounters dust and lint. A soft-bristled brush is your best friend here. Use a brush specifically made for hearing aids. You can also use a very soft, clean toothbrush. Gently brush all surfaces of the amplifier. Pay attention to the microphone ports and the speaker opening. This simple step removes loose debris before it gets stuck.
Wiping Down for Grime
Sometimes, dust isn’t the only thing you’ll find. You might notice smudges or a bit of moisture. For this, a slightly damp cloth works wonders. Make sure the cloth is not soaking wet. Wring it out very well. A soft microfiber cloth is ideal. Gently wipe down the outside of your hearing amplifier. This removes fingerprints and light grime. Always ensure the device is dry afterward.
Weekly Cleaning: A Deeper Dive
Once a week, you’ll want to do a more thorough cleaning. This addresses any earwax that might have accumulated. It also ensures all parts are functioning properly. A little extra attention can go a long way.
Tackling Earwax Buildup
Earwax is a natural part of your body. But it can be a hearing aid’s worst enemy. Specialized earwax removal tools are available. These often look like tiny brushes or loops. Carefully use these tools to remove any visible wax. Be gentle; you don’t want to push wax further in. Many experts recommend cleaning the receiver or speaker port most of all (CDC). This is where earwax often causes the most problems.
Cleaning the Microphone and Receiver Ports
These tiny openings are critical for your hearing aid’s function. Dirt and wax can block them easily. Use your soft brush to gently clean around these ports. For stubborn wax, a dry cotton swab can sometimes help. Roll it gently around the edges of the ports. Never insert anything deep into the ports. This could damage the delicate components inside. Keeping these ports clear ensures you hear every sound clearly.
Specific Cleaning Needs by Amplifier Type
Not all hearing amplifiers are created equal. Some have different parts that need special care. Understanding your specific model is important.
Behind-the-Ear (BTE) Models
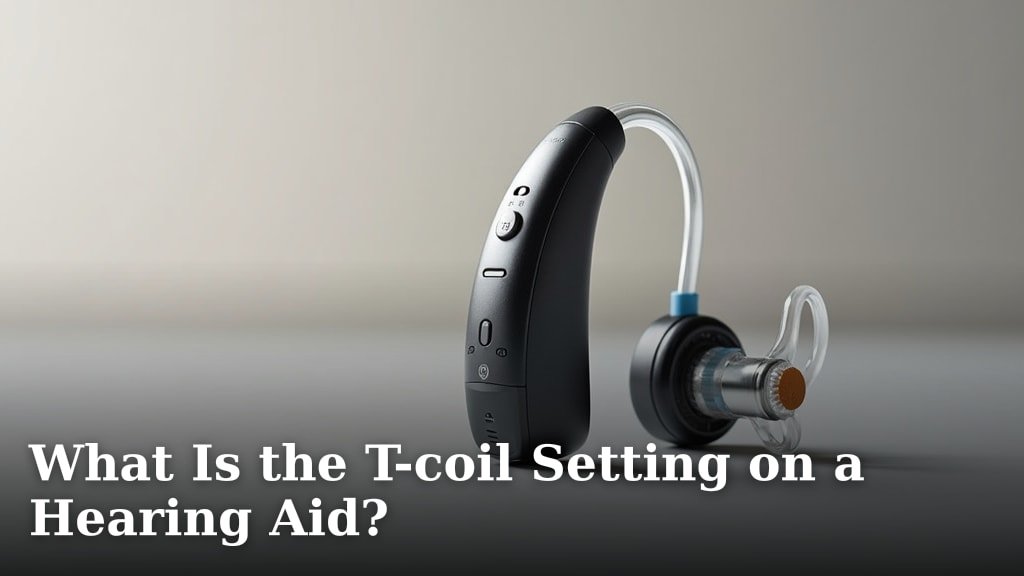
BTE hearing aids have a main unit that sits behind your ear. A clear tube connects this to an earmold. You’ll need to clean both parts. The earmold can often be removed. You can clean this with mild soap and water. Rinse it thoroughly and let it air dry completely before reattaching. The main unit needs the daily brushing and wiping we discussed. For detachable earmolds, you can clean with mild soap and water, as detailed in our guide to deep cleaning custom ear molds.
In-the-Ear (ITE) and Completely-in-Canal (CIC) Models
These models fit directly into your ear canal. They are often smaller and more discreet. Because they sit deeper, they can be more prone to earwax. Use your soft brush and dry cotton swabs carefully on these. Some models may have removable wax guards. Check your user manual to see if yours does. Replacing these regularly is key.
What NOT to Do When Cleaning
It’s just as important to know what you shouldn’t do. Making a mistake here could damage your device permanently. We’ve all been there, wanting to make something super clean and overdoing it.
Avoid Liquids and Harsh Chemicals
Water is the enemy of most electronics. Even a little bit can cause corrosion. Never immerse your hearing amplifier in water or any liquid. Also, steer clear of cleaning solutions. Alcohol, solvents, and strong detergents can damage the plastic and coatings. Stick to simple methods. Mild soap and water are generally only safe for detachable earmolds, and only if fully dried.
Don’t Use Sharp Objects
While you need to remove earwax, be very careful. Using sharp objects like pins or needles is a big no-no. These can easily puncture the microphone or speaker. They can also scratch the casing. Always use tools designed for hearing aid cleaning. Gentleness is the name of the game here.
Keep Everything Dry
Moisture is your hearing amplifier’s biggest foe. After any cleaning, ensure all parts are completely dry. If you use a damp cloth, let the device air dry. If you clean an earmold with water, dry it thoroughly. Store your hearing aid in a dry place. A dehumidifier box can be helpful, especially in humid climates. Keeping it dry protects its sensitive internal parts.
Essential Cleaning Supplies Checklist
To make cleaning easy, have these items ready:
- Soft-bristled cleaning brush (hearing aid specific or soft toothbrush)
- Soft, dry microfiber cloths
- Dry cotton swabs
- (Optional) Specialized earwax removal tools for hearing aids
- (Optional) Dehumidifier drying box
Storing Your Hearing Amplifier Properly
When you’re not wearing your hearing amplifier, store it safely. A protective case is ideal. This shields it from dust, moisture, and accidental damage. Many hearing aids come with their own cases. If yours didn’t, consider purchasing one. Keep it in a cool, dry place. Avoid bathrooms or kitchens where humidity is high. Proper storage is part of its overall care.
Conclusion
You’ve learned how to keep your hearing amplifier working its best with simple, consistent care. Regular brushing and wiping handle daily dust and grime. A weekly deeper clean tackles earwax buildup effectively. Remember to always use the right tools and avoid harsh chemicals or liquids. Proper storage also plays a big role. By following these steps, you ensure clear hearing and protect your device. Your next step is to gather your cleaning supplies and establish a quick daily routine. This small effort protects your hearing investment.
Frequently Asked Questions
How often should I clean my hearing amplifier?
For best results, you should perform a quick daily cleaning to remove dust and debris. A more thorough cleaning, focusing on earwax, is recommended weekly. This prevents buildup and ensures your device functions optimally. Consistency is key to maintaining clear sound.
Can I use rubbing alcohol to clean my hearing amplifier?
No, you should never use rubbing alcohol or other harsh chemicals. These can damage the sensitive materials and electronic components of your hearing amplifier. Stick to a soft brush, a slightly damp cloth, and specialized tools designed for hearing aids. Always check your user manual for specific cleaning recommendations.
What should I do if my hearing amplifier gets wet?
If your hearing amplifier accidentally gets wet, turn it off immediately. Remove any batteries if possible. Gently wipe it with a soft, dry cloth. Then, let it air dry completely for at least 24 hours in a dry place, or use a dehumidifier box. Never use a hairdryer, as the heat can cause damage.
How do I know if I’m cleaning my hearing amplifier correctly?
Your hearing amplifier is working correctly if you can still hear clearly and the sound isn’t muffled. Visually inspect the microphone and speaker ports to ensure they are free of visible debris. If you notice a decline in sound quality or your device isn’t functioning as expected, a cleaning may be in order. Consulting your user manual is always a good idea.
Where is the best place to store my hearing amplifier when I’m not using it?
Store your hearing amplifier in its protective case in a cool, dry location away from humidity. Avoid storing it in the bathroom or kitchen. Keeping it in its case prevents dust accumulation and protects it from accidental drops or damage. This helps maintain its condition between uses.