
How to Size Hearing Aid Ear Tips Correctly?
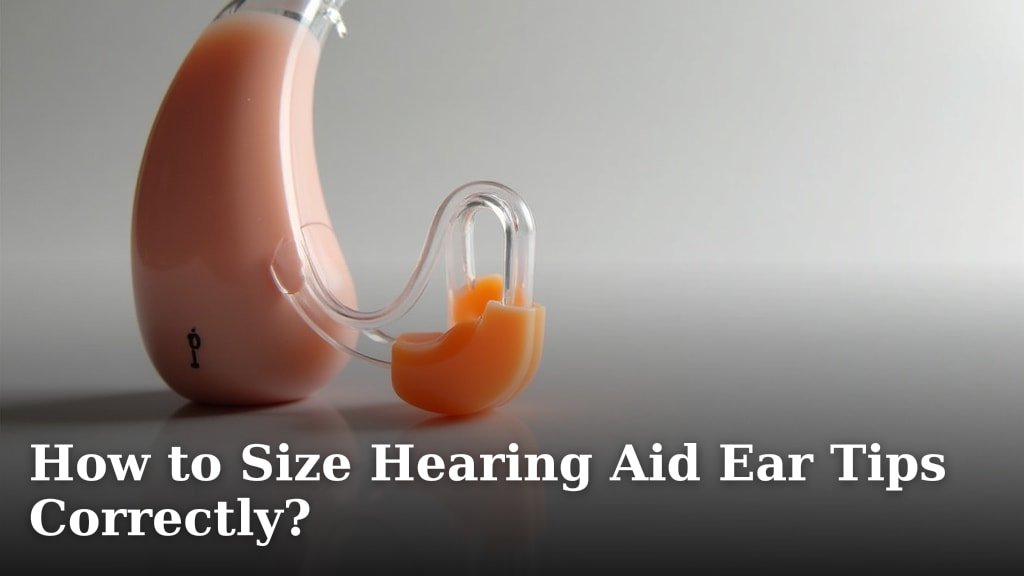
To correctly size hearing aid ear tips, you need to find a tip that fits snugly but comfortably in your ear canal. The right size creates a good seal, which prevents whistling and improves sound quality.
Choosing the correct ear tip size is more important than you might think for your hearing aid’s performance. A poor fit can lead to feedback, discomfort, and missing out on clear sounds. We found that a good fit makes a huge difference in your daily listening experience.
- Correct size stops whistling.
- Comfort is key for all-day wear.
- Better fit means better sound.
- Various sizes and types are available.
- Trial and error is often part of the process.
Let’s walk through exactly how to choose and fit the perfect ear tips for your hearing aids, ensuring you get the best possible sound.
Getting the Right Fit for Your Hearing Aid Tips
The right ear tip size is essential for both comfort and sound quality. Think of it like wearing shoes: too big, they flop; too small, they pinch. Your hearing aids need that “just right” fit.
A good fit means your hearing aid stays put. It also creates a seal that sends sound directly to your eardrum. Without this seal, sound can leak out, causing that annoying whistling noise known as feedback.
Why Ear Tip Fit Matters So Much
You might wonder, “Is it really that big a deal?” Yes, it absolutely is. The ear tip is your hearing aid’s direct link to your ear canal. It’s where all the magic happens for clear listening.
When the fit is off, you might experience several problems. We found these issues can really impact your daily life. Let’s look at why getting it right is so important.
Comfort and Wearability
Imagine wearing something uncomfortable all day, every day. Not fun, right? Your ear tips are no different. If they’re too large, they can press uncomfortably against your ear canal walls. This can lead to soreness or even irritation over time.
On the flip side, if they’re too small, they might feel loose. They could even fall out, which is both inconvenient and risky for your hearing aid. We understand you want to forget you’re even wearing them.
Sound Quality and Clarity
The best hearing aid in the world won’t perform well with the wrong ear tips. A proper seal keeps the sound focused. It prevents sound from escaping and re-entering the microphone, which is the main cause of feedback.
Without a good seal, bass sounds can be lost, making everything sound tinny. You might also miss out on softer speech sounds. Many experts say a good seal is the foundation of effective hearing aid use (National Institute on Deafness and Other Communication Disorders).
Preventing Feedback (Whistling)
That high-pitched whistle is frustrating for everyone around you and for you! It happens when amplified sound from the speaker leaks out of your ear and gets picked up by the microphone again. The hearing aid then amplifies that leaked sound, creating a loop.
A snug ear tip acts like a plug, stopping sound from escaping. This means less whistling and more clear, directed sound into your ear canal. It’s a simple fix for a common problem.
Understanding Different Ear Tip Styles
Not all ear tips are created equal. Just like shoes come in different styles for different activities, ear tips come in various designs. Each is suited for different hearing needs and ear canal shapes. Knowing these can help you narrow down your choices.
Most hearing aids come with a few different styles and sizes. It’s smart to try them all. What feels best for one person might not for another. We’ve seen a lot of variety here.
Open Domes
Open domes have small vents or holes. They allow some natural sound to enter your ear canal alongside the amplified sound. This is great for people with mild hearing loss, especially in the low frequencies.
They feel less “plugged up” and more natural. However, they are more prone to feedback if your hearing loss is more significant or if they don’t fit well. They are often a good starting point for many users.
Closed Domes
Closed domes have fewer or no vents. They provide a more sealed fit than open domes. This design offers more amplification and helps prevent feedback, especially for those with moderate hearing loss.
You’ll notice more of a “plugged” sensation with closed domes. This can take a little getting used to, but the benefit is often much better sound quality. They are a good step up when open domes aren’t enough.
Power Domes (Double Domes)
Power domes, sometimes called double domes, have two flanges or skirts. These create an even tighter seal than single closed domes. They are ideal for people with more severe hearing loss or those who need maximum amplification.
The extra seal significantly reduces feedback and delivers a more robust sound. They can feel more noticeable in the ear due to their size, but the performance boost can be significant.
Custom Ear Molds
For some, standard domes just won’t cut it. This is where custom ear molds come in. These are made specifically for the unique shape of your ear canal and outer ear. Your audiologist takes an impression of your ear, and a lab creates a perfect fit.
Custom molds offer the best possible seal, sound quality, and comfort. They are often recommended for severe to profound hearing loss, or if you have an unusual ear canal shape. While more expensive, many find them worth the investment.
How to Find Your Perfect Ear Tip Size
Finding the right size is a bit of an art and a science. It involves observation, feeling, and a little trial and error. Don’t get discouraged if the first one you try isn’t perfect. We’re here to guide you.
Start with the tips that came with your hearing aid. Manufacturers usually include a range of sizes because they know every ear is unique. Think of it as a fitting room for your ears.
The Visual Check
Before you even put it in, take a look. Does the ear tip seem too big or too small compared to the opening of your ear canal? Hold it up to your ear. It should look like it could fit without force.
You can also compare it to any old ear tips you might have. If your old one was comfortable, try to match its size. This gives you a good starting point for your sizing journey.
The Insertion Test
Gently insert the ear tip into your ear canal. Don’t push too hard. It should slide in relatively easily. If you have to force it, it’s likely too big.
Once it’s in, give it a little wiggle. Does it feel secure? Does it feel like it’s about to fall out? Or does it feel like it’s pressing uncomfortably?
The Comfort Test
Wear the ear tip for a few minutes. Walk around, talk, and move your jaw. Does it stay in place? Do you feel any pain or discomfort? A good fit should be barely noticeable after a short while.
If you feel pressure or soreness, try a smaller size. If it feels loose or like it’s going to fall out, try a larger size. Your ears will tell you a lot about what works.
The Sound Test (Feedback Check)
Turn on your hearing aid. Place your hand over your ear. Do you hear whistling? If so, the ear tip might be too small, or it might not be inserted correctly. Try re-inserting it first, then try a larger size if the whistling continues.
Listen to different sounds. Is the sound clear? Do you hear a good range of tones? If sounds are muffled or tinny, the seal might not be perfect. This is a critical step for optimizing your listening experience.
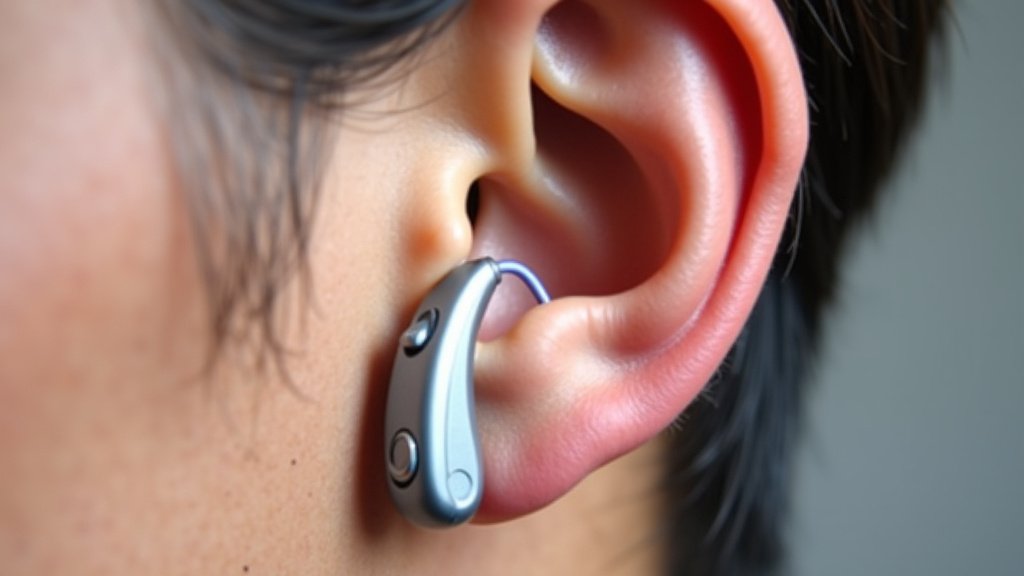
Troubleshooting Common Ear Tip Issues
Even with the best intentions, you might run into some bumps. Don’t worry, many common problems have simple solutions. We’ve seen these issues come up time and again. You’re not alone if you experience them.
Persistent Feedback
If whistling continues, even after trying different sizes, check a few things. Is the ear tip fully inserted? Sometimes it just needs a little extra push. Is your hearing aid turned up too loud? Sometimes reducing the volume can help.
If all else fails, you might need a different style of ear tip, like a closed dome or power dome. Or, consider custom ear molds for the ultimate seal. An audiologist can help you diagnose stubborn feedback.
Discomfort or Pain
If your ear tip causes pain, it’s definitely too big. Even a little discomfort can become unbearable over a full day. Switch to a smaller size immediately. Your ear canal might be more sensitive than average.
Sometimes, the material of the ear tip can cause irritation. Most are made of silicone, but some people have sensitivities. Talk to your audiologist about alternative materials if discomfort persists.
Ear Tips Falling Out
If your hearing aid keeps slipping out, the ear tip is likely too small. You need a size that creates a gentle, secure grip within your ear canal. Try the next size up.
Also, check if you’re inserting it correctly. Sometimes a slight twist or angle can make a big difference in how securely it sits. Practice in front of a mirror until it feels natural.
Your Ear Tip Sizing Checklist
To summarize, here’s a quick checklist to help you through the process:
- Start with the smallest ear tip that comes with your hearing aid.
- Gently insert the tip; it should feel snug, not tight.
- Wear it for 15-30 minutes to test for comfort.
- Check for whistling by cupping your hand over your ear.
- If loose or whistling, try the next size up.
- If painful or too tight, try the next size down.
- Repeat until you find the best balance of comfort and sound.
| Ear Tip Style | Ideal For | Key Benefit |
|---|---|---|
| Open Domes | Mild hearing loss, natural sound | Less “plugged” feeling |
| Closed Domes | Mild to moderate loss, better amplification | Reduced feedback, fuller sound |
| Power Domes | Moderate to severe loss, maximum seal | Strongest amplification, minimal feedback |
| Custom Molds | All types, unique ear shapes | Superior comfort, fit, and sound |
Conclusion
Finding the right size hearing aid ear tip truly transforms your listening experience. We’ve seen firsthand how a snug, comfortable fit can eliminate whistling and bring clarity to sounds you might be missing. It’s about more than just sound; it’s about all-day comfort and confidence.
Your ears are unique, and a little trial and error is a small price to pay for optimal performance. You now have the tools to identify the perfect tip style and size for your needs. Don’t settle for anything less than clear, comfortable hearing.
If you’ve tried different sizes and styles without success, schedule an appointment with your audiologist. They can provide professional guidance and custom solutions.
Frequently Asked Questions
How often should I change my hearing aid ear tips?
You should generally replace silicone ear tips every 2-3 months, or sooner if you notice they are discolored, torn, or no longer hold a snug fit. Regular replacement ensures optimal hygiene and sound quality.
Can I clean my ear tips, or do I always have to replace them?
Yes, you can clean most ear tips daily! Use a soft, dry cloth or a specialized brush to remove earwax. Some silicone tips can be gently washed with mild soap and water, but make sure they are completely dry before reattaching them to your hearing aid.
What if my ear canal shape is unusual?
If standard ear tips don’t seem to fit well, you likely have an ear canal shape that requires a custom solution. Your audiologist can take an impression of your ear to create custom ear molds, ensuring the best possible fit and performance.
Do ear tips affect my hearing aid’s battery life?
Indirectly, yes. If your ear tip doesn’t create a good seal, your hearing aid might work harder to produce sufficient volume and clarity. This increased effort can lead to faster battery drain. A good fit ensures your hearing aid operates efficiently.
Can a bad ear tip fit cause ear infections?
A poorly fitting or unclean ear tip can contribute to ear irritation and potentially increase the risk of infection. If an ear tip is too tight, it can cause abrasions. If it’s too loose, it may trap moisture and debris. Always prioritize comfort and cleanliness.
